How to install and trim skins
In today's Technet we're going to show you how to install skins.
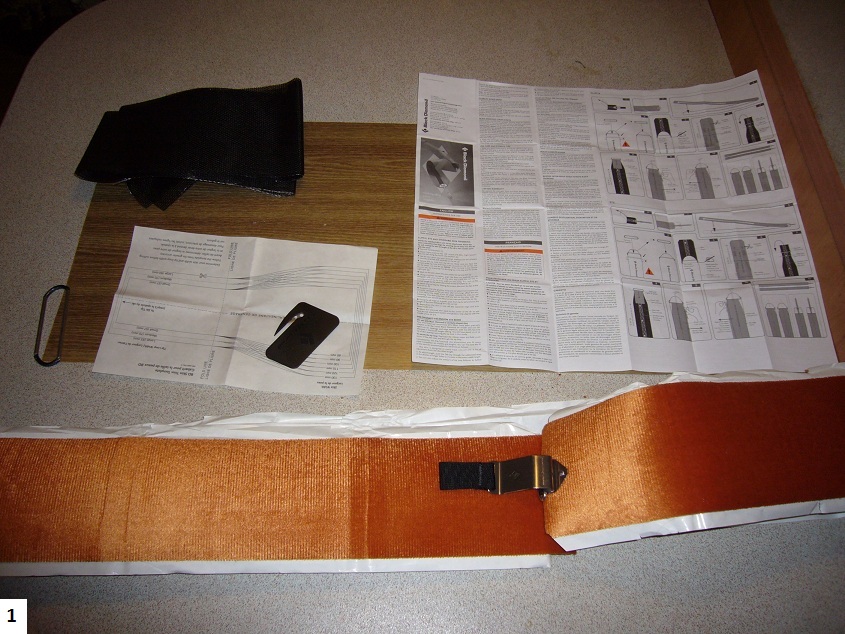

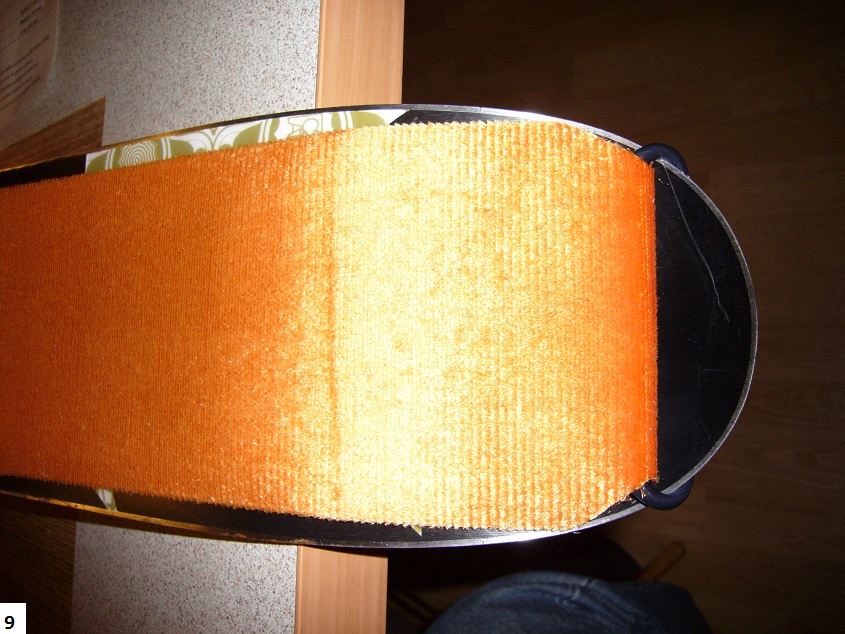
For today's installation will use nylon skins Black Diamond with a width of 115 mm, see pic. 1. Skins are delivered in 2 m length and therefore, they need to be cut into desired length of your skis. The package also includes a bag, knife, net for folding the skins and the manual. The installation procedure is following. Remove the film covering the adhesive strip. Put a clip on the tip of your ski and gradually stick the skin towards to the tip of the ski so we have projecting strip on both sides of the skis in the same size which is in the middle of the ski as it is like in our case on pic. 2. Once we stick the skin on the ski, we can move to the next step which is trimming of overlapping skin and fixing the skin to the ski.
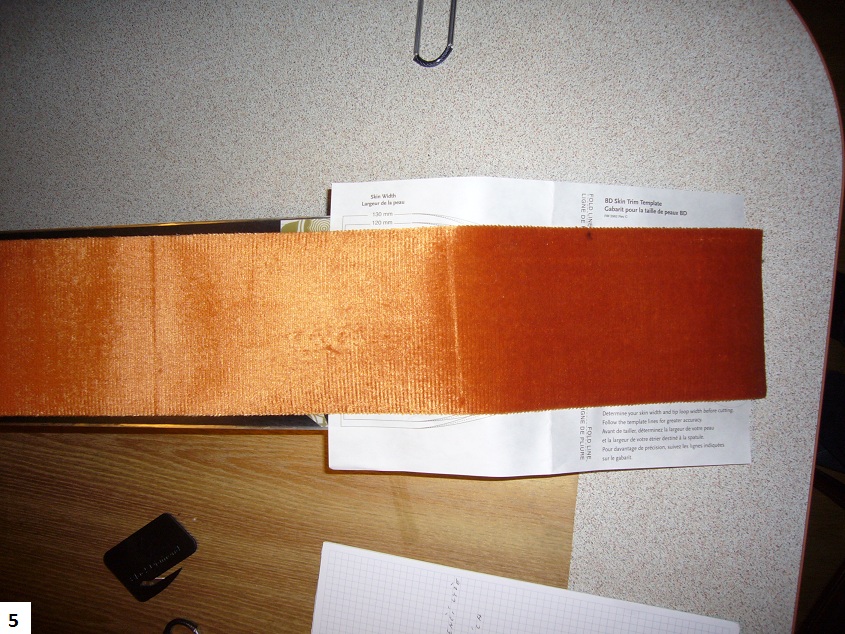
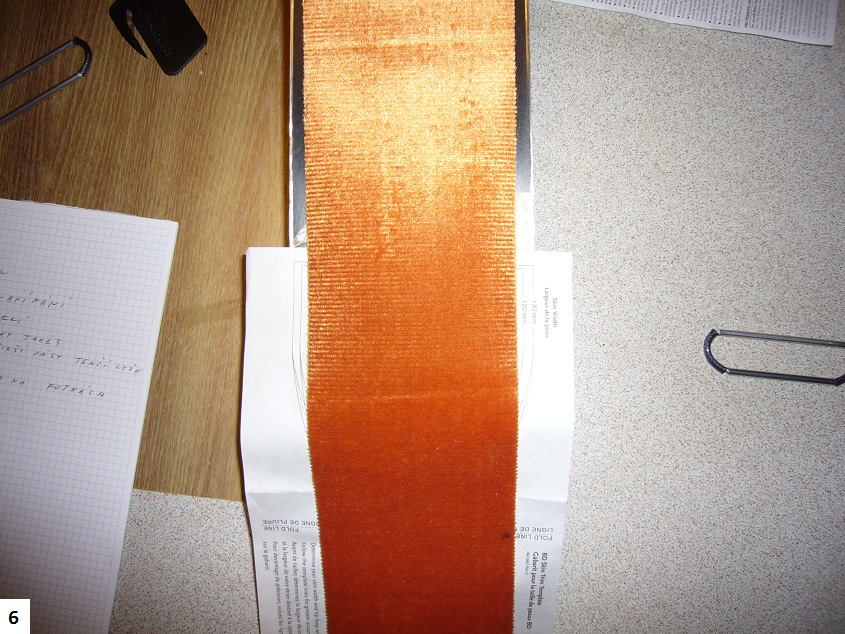
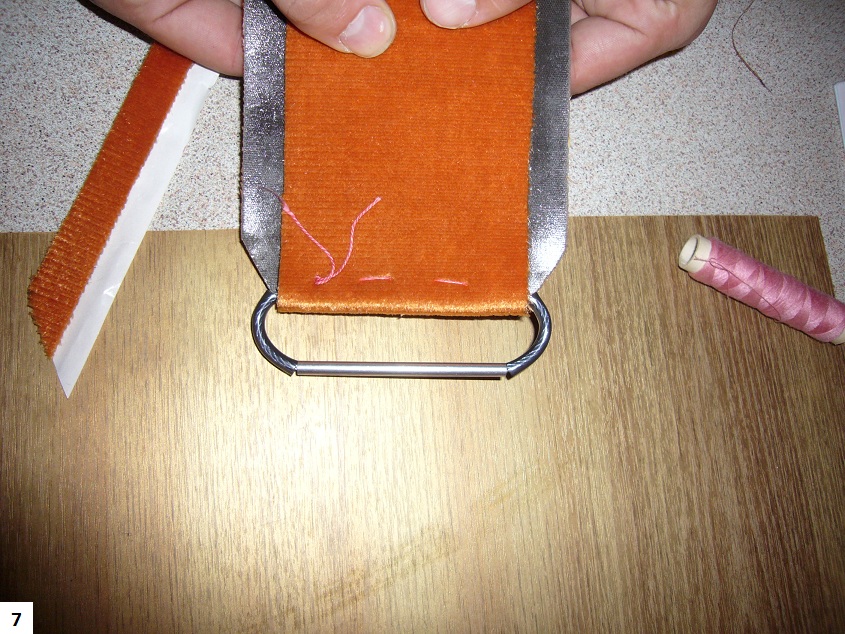
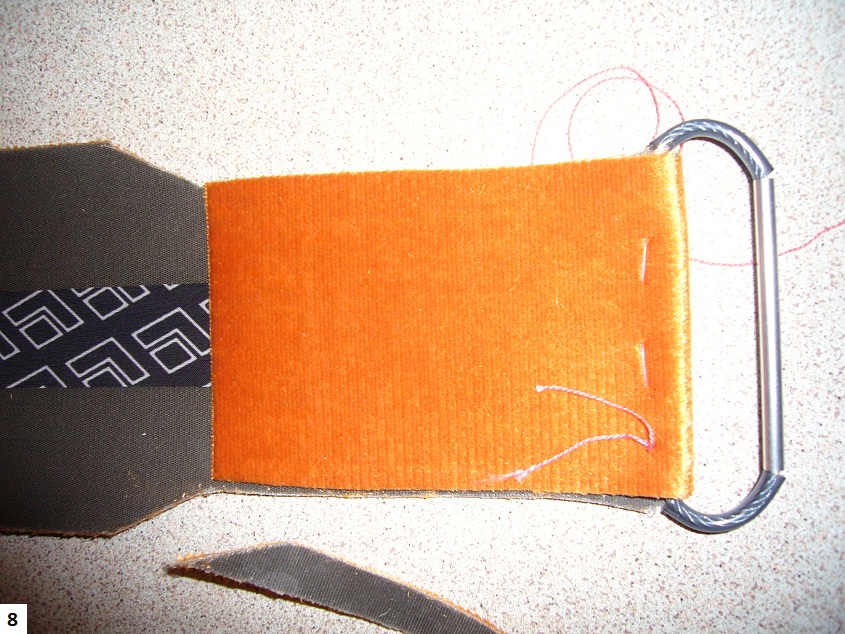
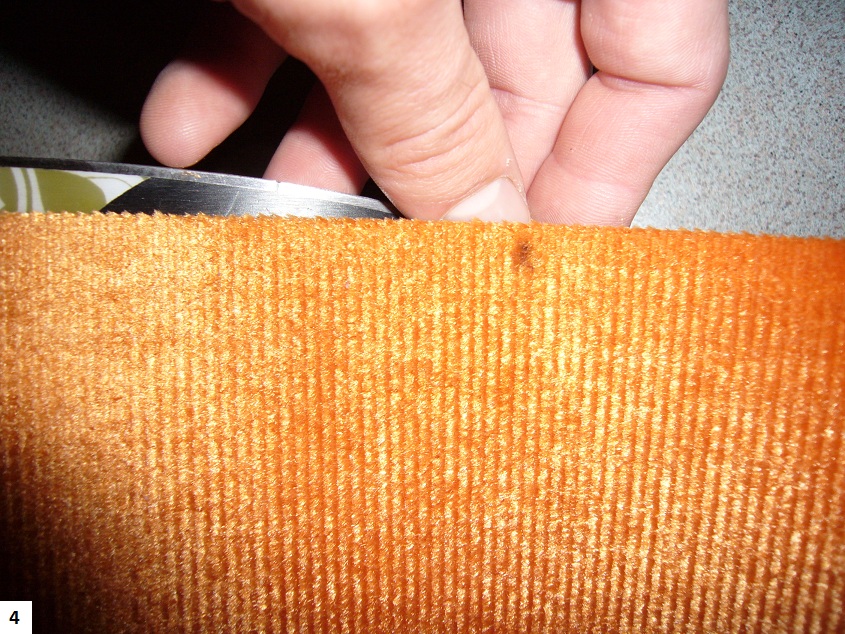
On the tip of the skin we put a steel ring supplied with the package. We put it on the tip of the ski until it got stuck on it like we have on pic. 3. When the ring is fixed in right position we make a mark on the skin with a marker right in the position where the ring is, such as on pic. 4. In the manual we have a template with instructions on how to make proper cut in order to put the skin over ring loop as is pic. 5 and 6. We put the template into folding position, on template called "FOLD LINE “ and cut it according to template so the skin can gradually be trimmed into the width of the ring and thus goes through it. Then we put the skin thru the ring and fold it in the place where we previously parked like is on pic. 7. Then we glue each strip together. From my personal experience I recommend to stitch the skin together and cut the excess out in a part where are two layers glued together like is on pic. 8. We do all this because of the snow, which can come under a big pressure to this place and detach one layer from another. If you have a shorter ski, and the excess would be much longer so the skin would be returning below the ski, I recommend to reduce this excess so the ring would have about 10 cm behind.
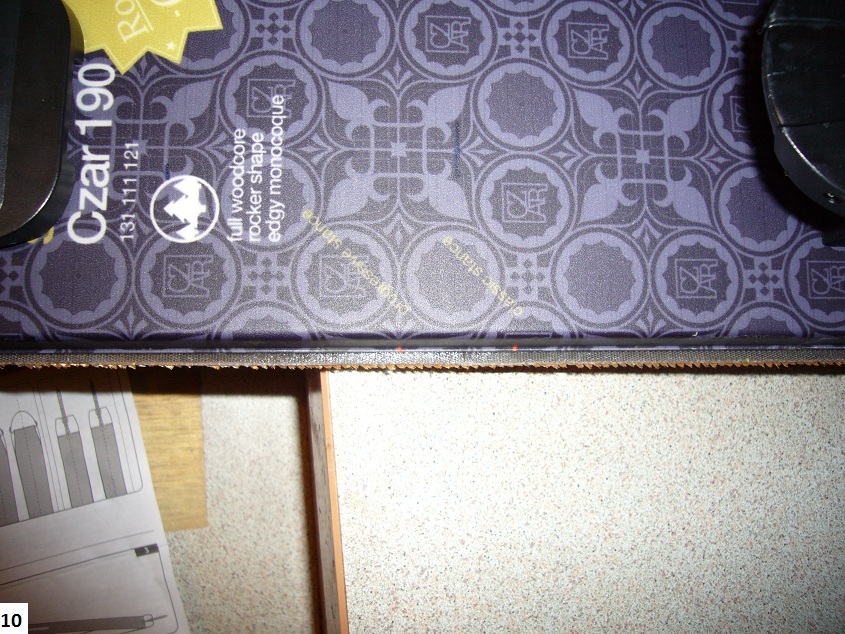
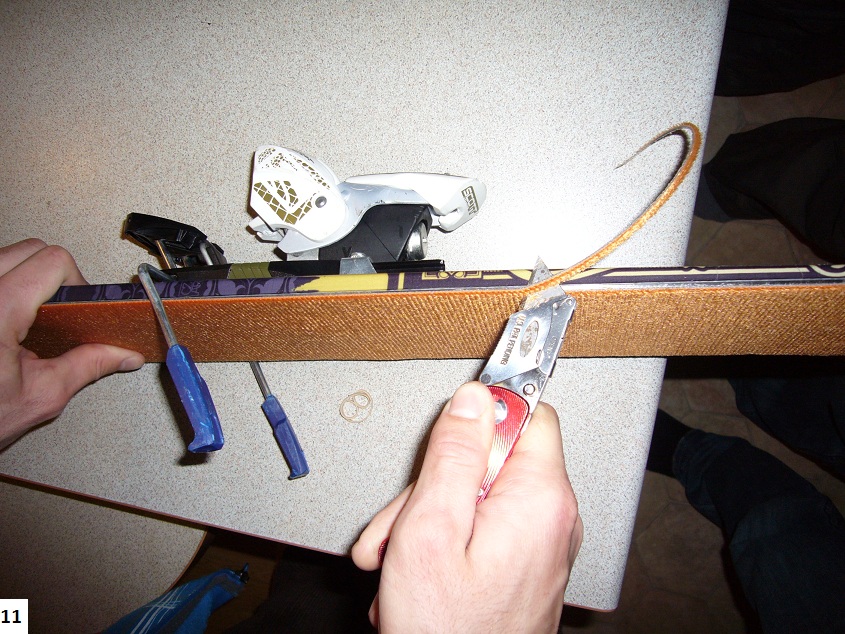
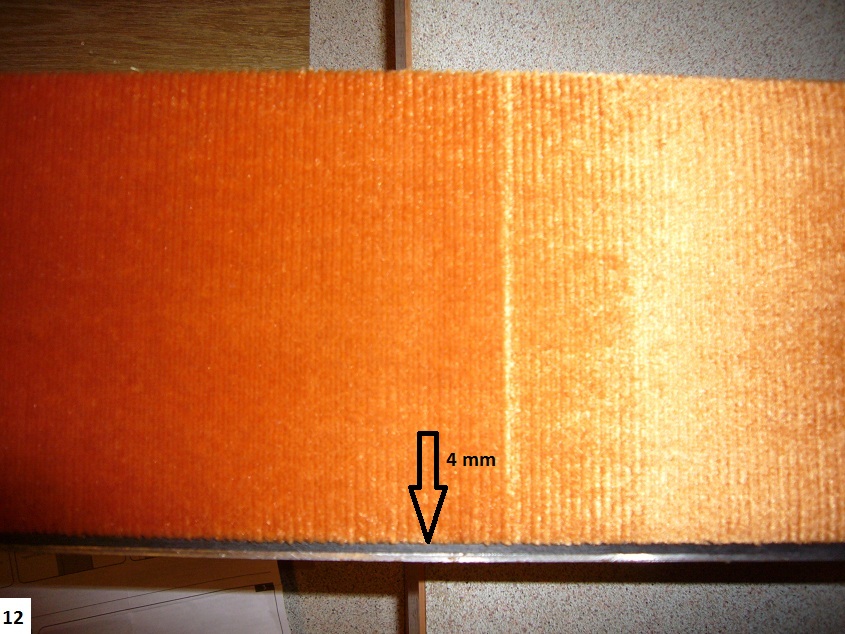
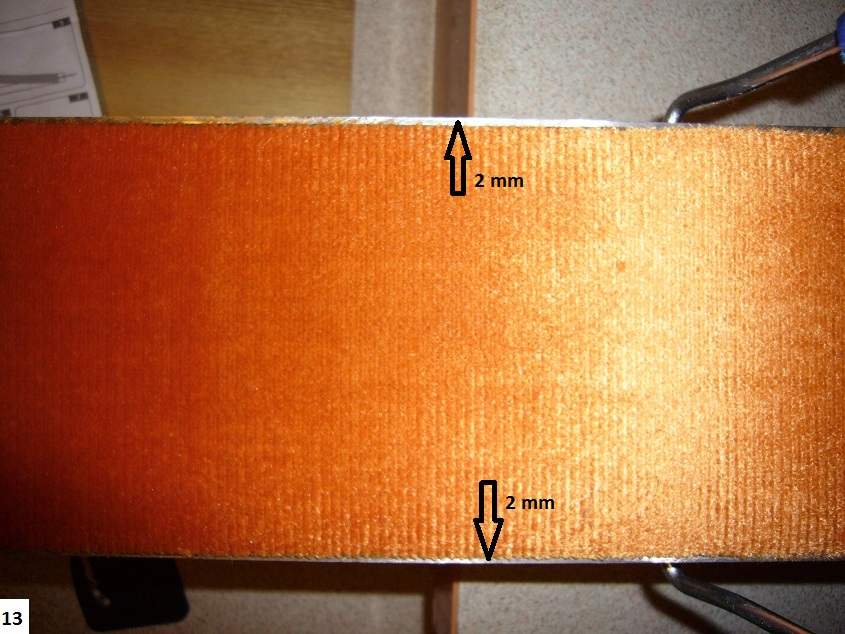
The last section of this article is to adjust the skin’s width on skis pic. 10. The skin should be installed so that each side needs about 2 mm to the edge of the ski. This can be done by cutting off excess part on one side, as is on pic. 11. In our case, we prefer to use our incisor rather than in the package. After the cut off one side we unstuck the skin and put this cutted side to the edge side so we have the distance to the edge of 4 mm pic. 12. The following is to cut off the strip on the other side than peel off the strip and then stick it on to the center of the ski pic. 13. So we have distance from the edges about 2 mm on each side.
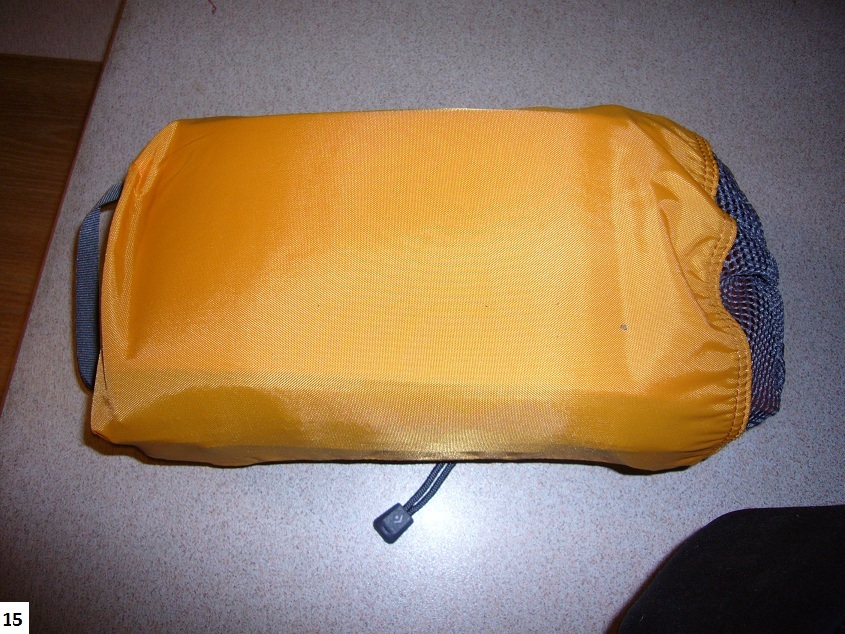
Skins are good to go. Now the only thing that remains is to cut the net in half and stick one half of the net on top of the skin and the stick other half of the bottom skin to the top half so that there is net between them like is on pic. 14. Finally storage it in a bag pic. 15.
I personally use with the skins a reduction Alpine trakker. Sometime it's a fight, but touring binding does not give me the durability what I need and also lifting the ski boot a little bit higher from the ski which does not have possitive effect on me.
Approx weight:
Skins in lenght 190cm ..... 850g
Reduction Alpine Trakker ..... 1234g
Sum: 2084grams