How to mount ski bindings?
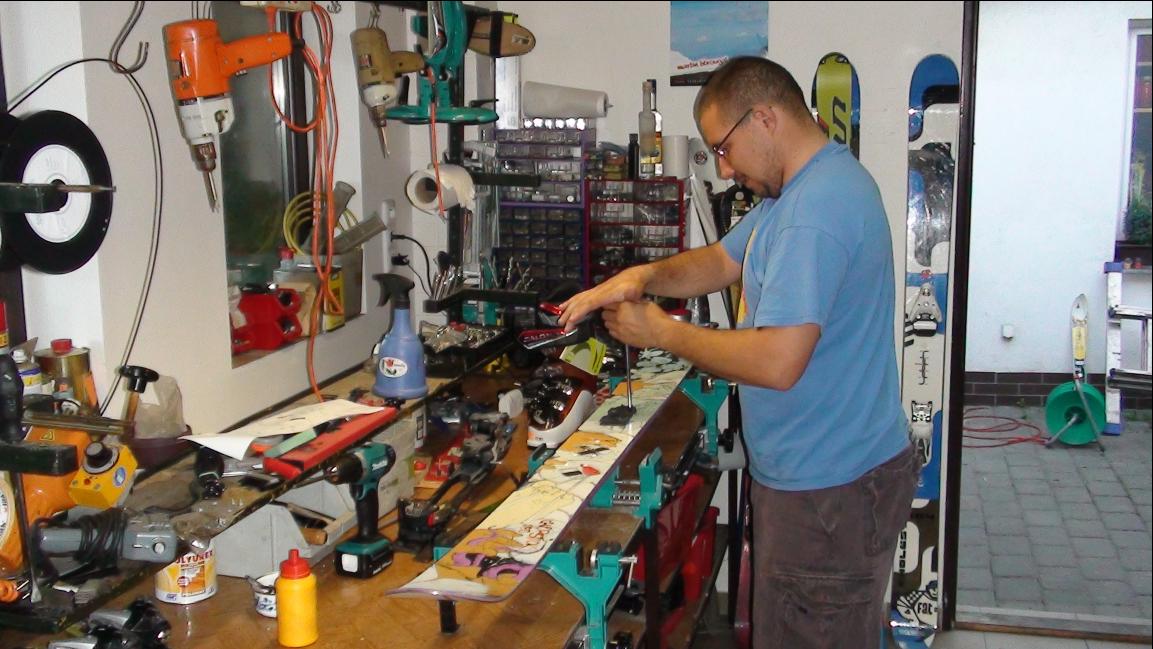
As a guide of this article and many others, we have invited the one of the most sophisticated man in this area. John Sova - he and his little corn shop SOVA SKI in Bohumin with great heart open to people who are interested in freeski and many more. I have never seen such a great shop like this one in the Czech Republic, maybe just somewhere abroad but maybe! Corn shop filled with stuff loaded up to the ceiling and especially with informations about everything you can imagine in the freeskiing such as: skis, boots, where just dumped and a thousand of other informations. In this business are people who do not change and most of the goods really tested by them. Thanks to this Peter’s and John‘s recommendation and advises you will gain this information like nowhere else. The offer is very rich, from the ABS avalanche backpack to skis freeski all dimensions and sizes. In the short period of time their goods will also be here on the powder line. And now finally how to put your binding on the right spot.

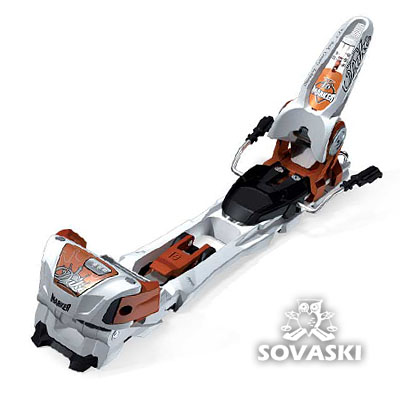
Installation itself is not so difficult and in some cases, it can be managed at home. I would begin with the easy one first, where the binding is supplied with a template such as Marker for the example. In the illustrative picture is photographed assembly of Marker Duke binding. First of all, we need to know what category of skis we have (freeride, backcountry and freestyle), than decide what terrain are we gonna ride and what do we wan to do on them. These infos are necessery before we start the work.
I’ll try to specify the basic rules:
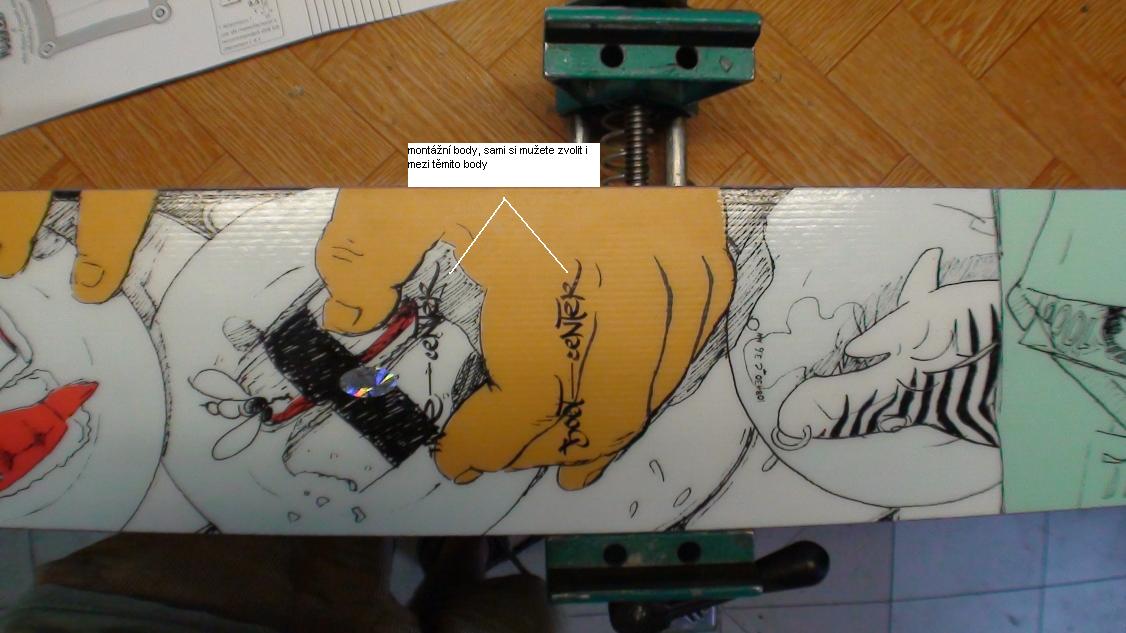
• Measure the real ski center of your skies (thx to this you will make sure where the centers of your skies are if the manufacturer did not do so)
• The more you decide to move the mounting point to the center, the more the ski will be equally balanced in rotation, but less stable sagittal balance which you need in freeride.
• skies with reverse camber have the mounting point shifted more towards the center (so you don’t have to watch the balance and pushing on the back of the ski so the tip is above the snow). It is the current trend and most of the companies have a combination of classical and reverse camber or no camber at all.
• is absolutely up to you what you expect from the riding. For Big Mountain line you can go -7 cm from the center and spin rotation from the BC kicker, then go -2 cm, or something in between :-). The whole thing is a personal comfort of a rider.
Procedure:
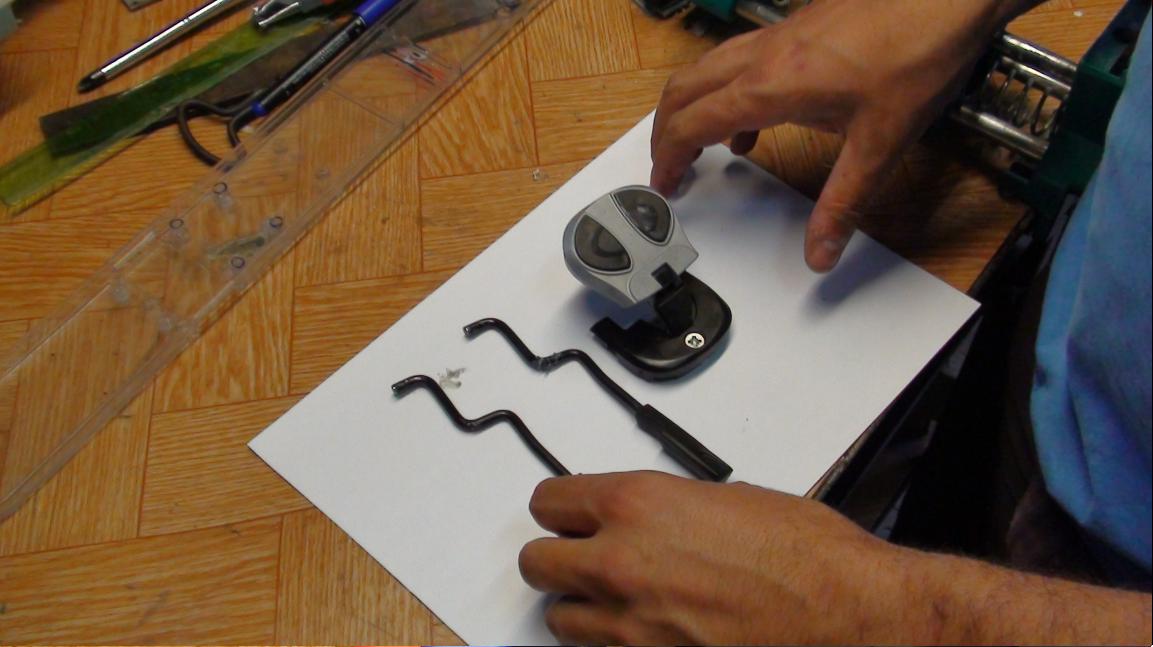
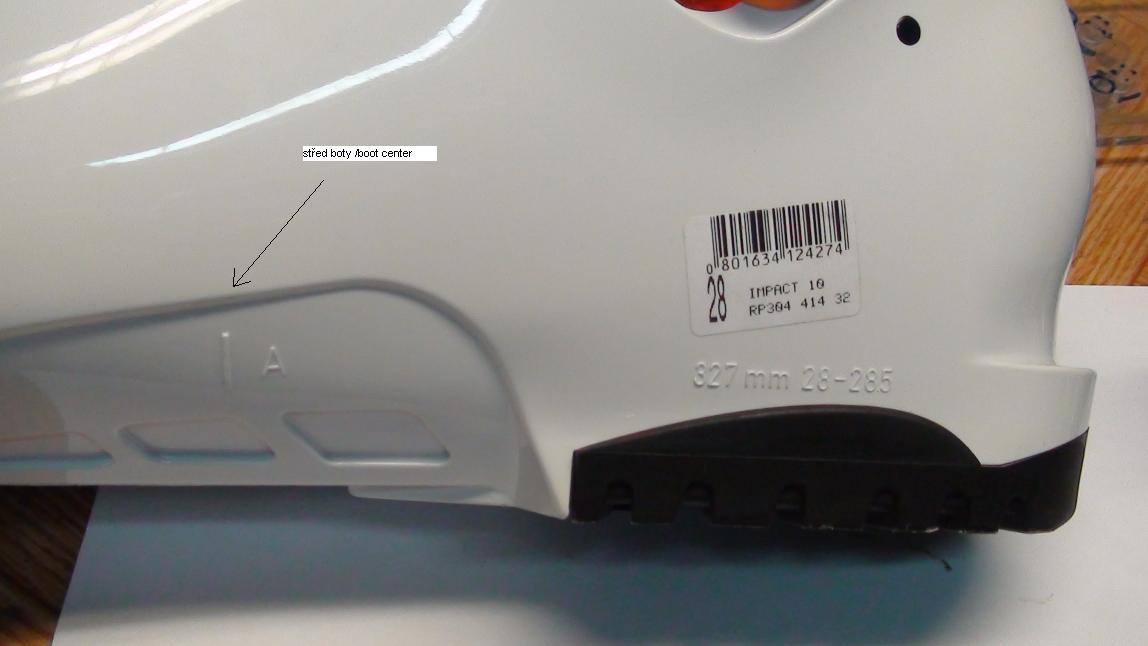
- choose the mounting point on a ski for example: -4 cm from the real ski centre, put a skishoe to the center of it (each ski boot has a marked center at: Photo) and mark the tip and the heel on skis.
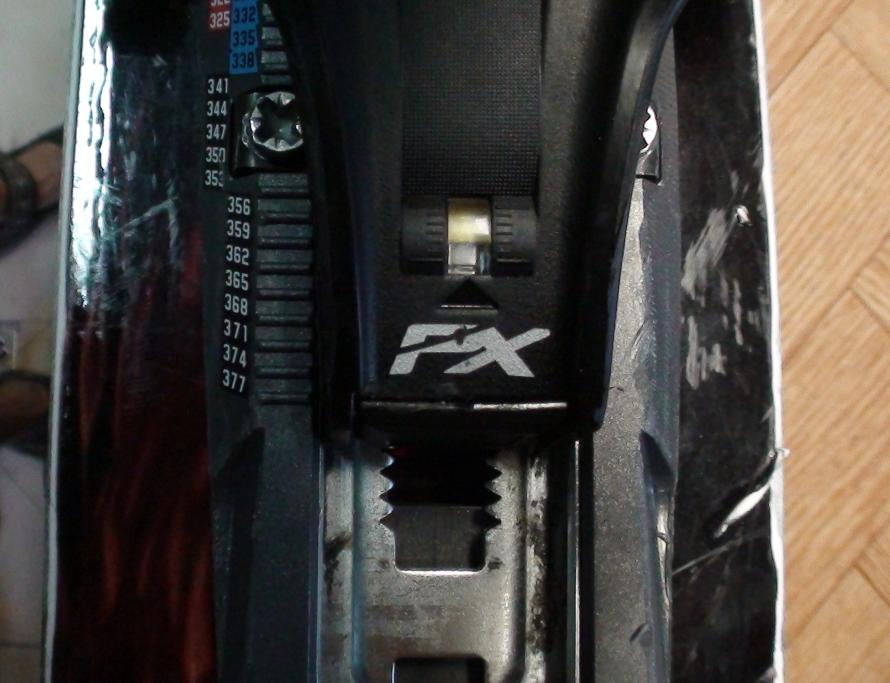
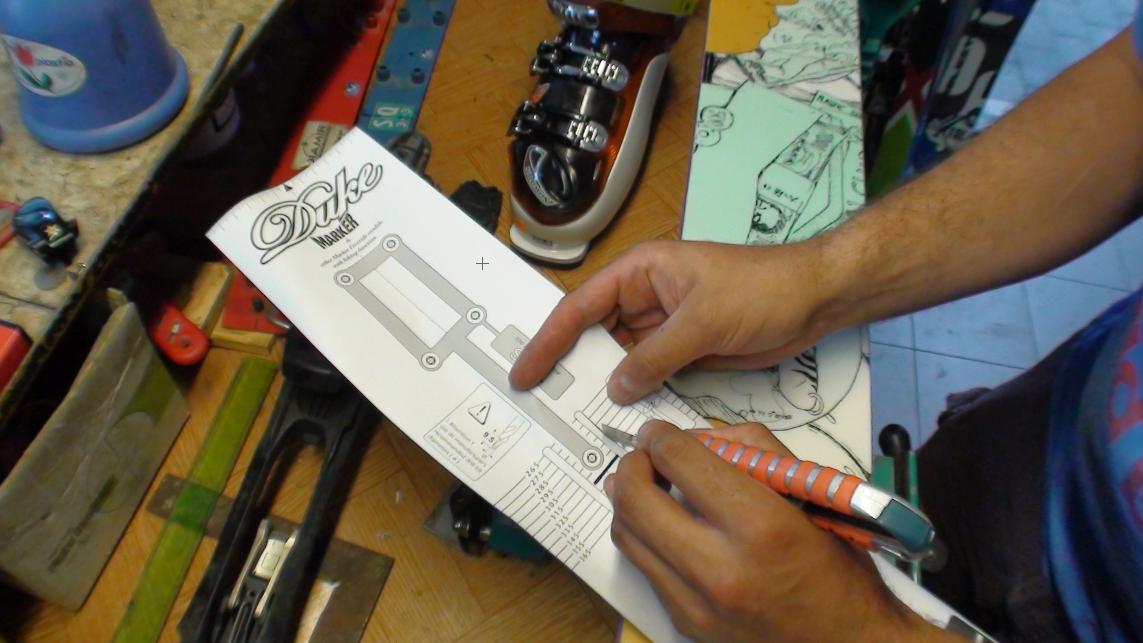
- take the skieshoe and the length information and write it into the template for example 325 mm.
– cut out the template and stick it according the shoe’s center on the marked point on the skis (template should be sticked on the broad ski right in the middle) you have to center by region, so that you have on each side the same distance for example 5 mm.
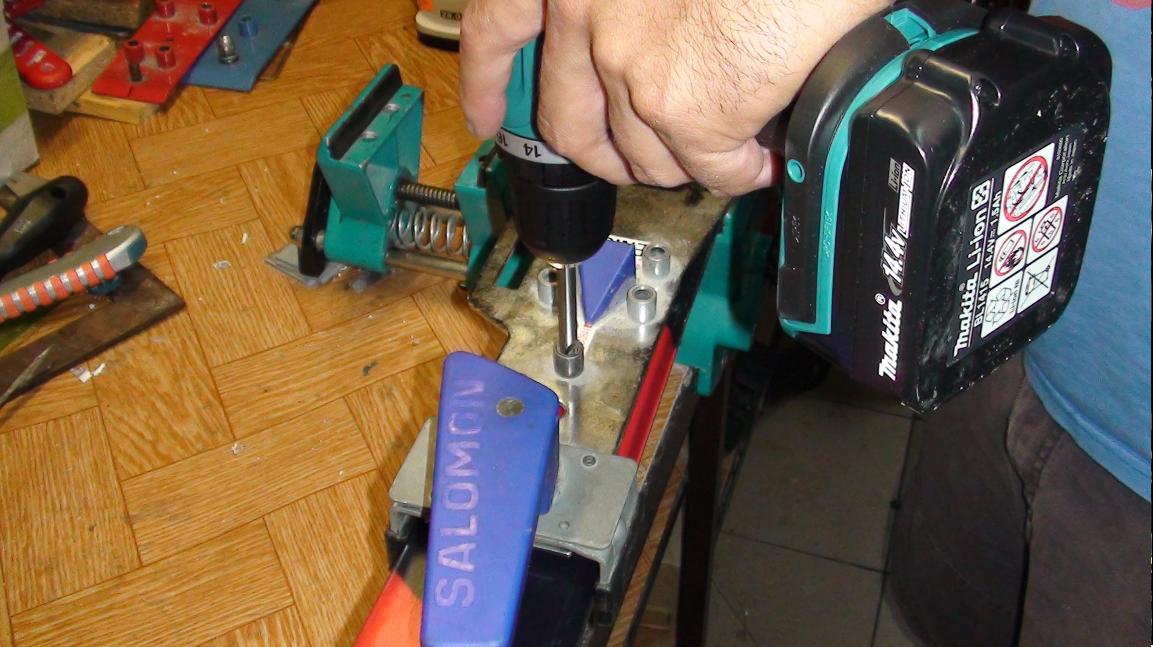
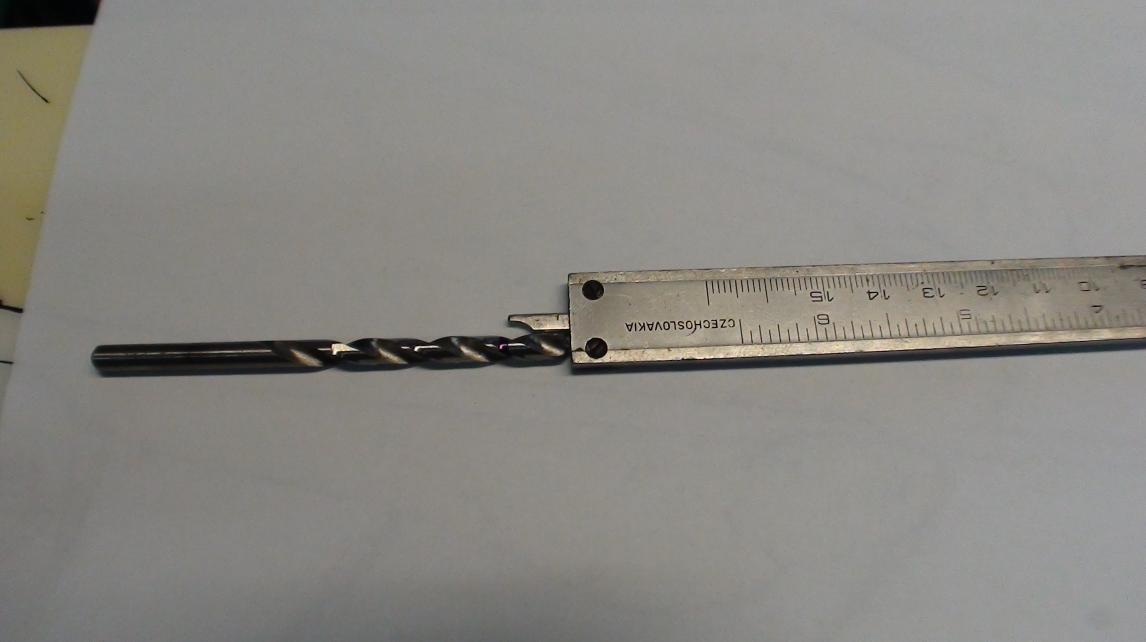
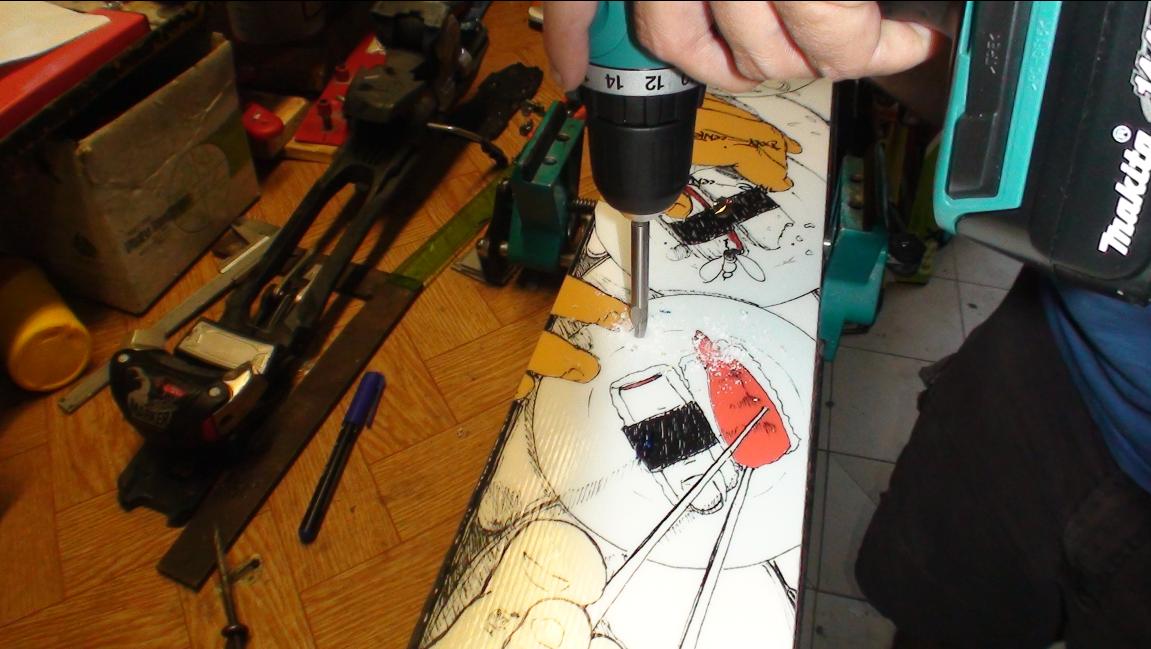
– thru the template we can punch the holes and the drilling can be started. Ski, which have a layer of titanium, drill diameter of 3.6 and 9 mm depth (special drill with a backstop) for skies with a titanium layer take diameter of 4.1 (Voelkl Katana, Nordica Blower). If you do not have a drill with backstop, beware of the depth, see photo.
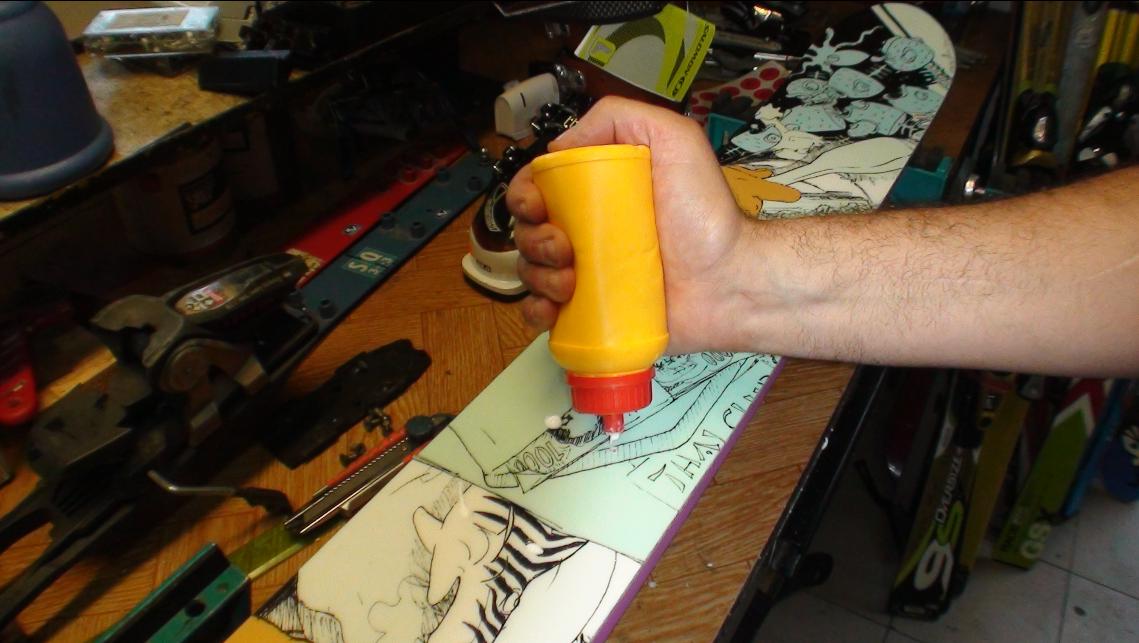
– after the drill, we put a dispersion adhesive. NO epoxy glue!! (glue is only to make the screws fixed and sealed from water).
– place the binding and tighten the screw (we can also use acu drill). Final tightening always with a manual screwdriver. Pozor na přetažení šroubu, hrozí vytržení jádra lyže. Beware of over tightening the screw, there is a trance core skis.
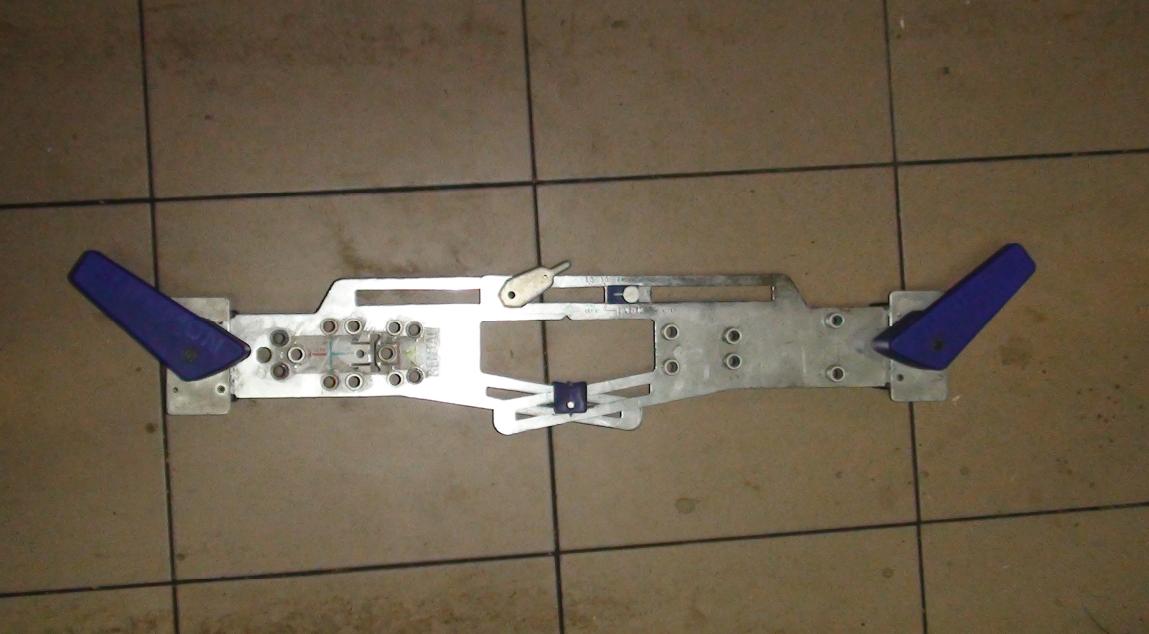
- the classic procedure of mounting is that every brand has its metal template. Into this template we put a boot, lock and set according to installation on the ski center, which we chose. On the metal template there are holes for the drill, just drill and follow the previous procedure, glue and tightening.
- After installation of bindings just put the brakes. The problem is of course, with the width of the skis. Therefore you have to buy the brakes separately or bend in vise or carefully heated up by torch and then bend (sometimes burst, depending on the material of the brake).
Setting up the bindings:
Binding holds the ski boot on the ski and as firmly as we set (depending on weight and experience of the rider). Bindings are classified according to DIN power. The larger the number is, the harder you can set it out (example.12, 14, 16, 18). Never breaking strength are set up to a maximum value, eg for binding with Din 14, we can set the max 12, to maintain optimal comfort of the spring. For experienced, 70 kg heavy riders, set DIN 10th. If your ski pop off, and you feel that you do not know why, tighten the DIN one level higher. Many people forget to set the bias (ie how much the boot will be pushing to the frant of binding, and thus causing its peak). Everything is well illustrated on the photos (if you can see the whole strip the pressure on the boot is not set and your binding can pop out prematurely. The strength values do not correspond to the set). Strip should be seen precisely in half scale. Each type of binding with control of bias elsewhere. It's the best to get the info directly with the seller.